5 Unique Cat-O’Lantern Ideas You Can Easily Create At Home
Halloween is just around the corner, and you know what that means – it’s time to unleash your inner pumpkin artist!
Pumpkin carving is more than just a tradition; it’s a creative adventure that adds loads of fun to the spooky season.
Every year, we see households stepping up their game with creative Jack-o’-lanterns that are perfect for setting that eerie mood for Halloween.
So, let’s dive into the world of cat pumpkin designs and get inspired for a feline-themed Halloween.
Carving Tools You’ll Need For A Purr-Fect Cat-O’Lantern
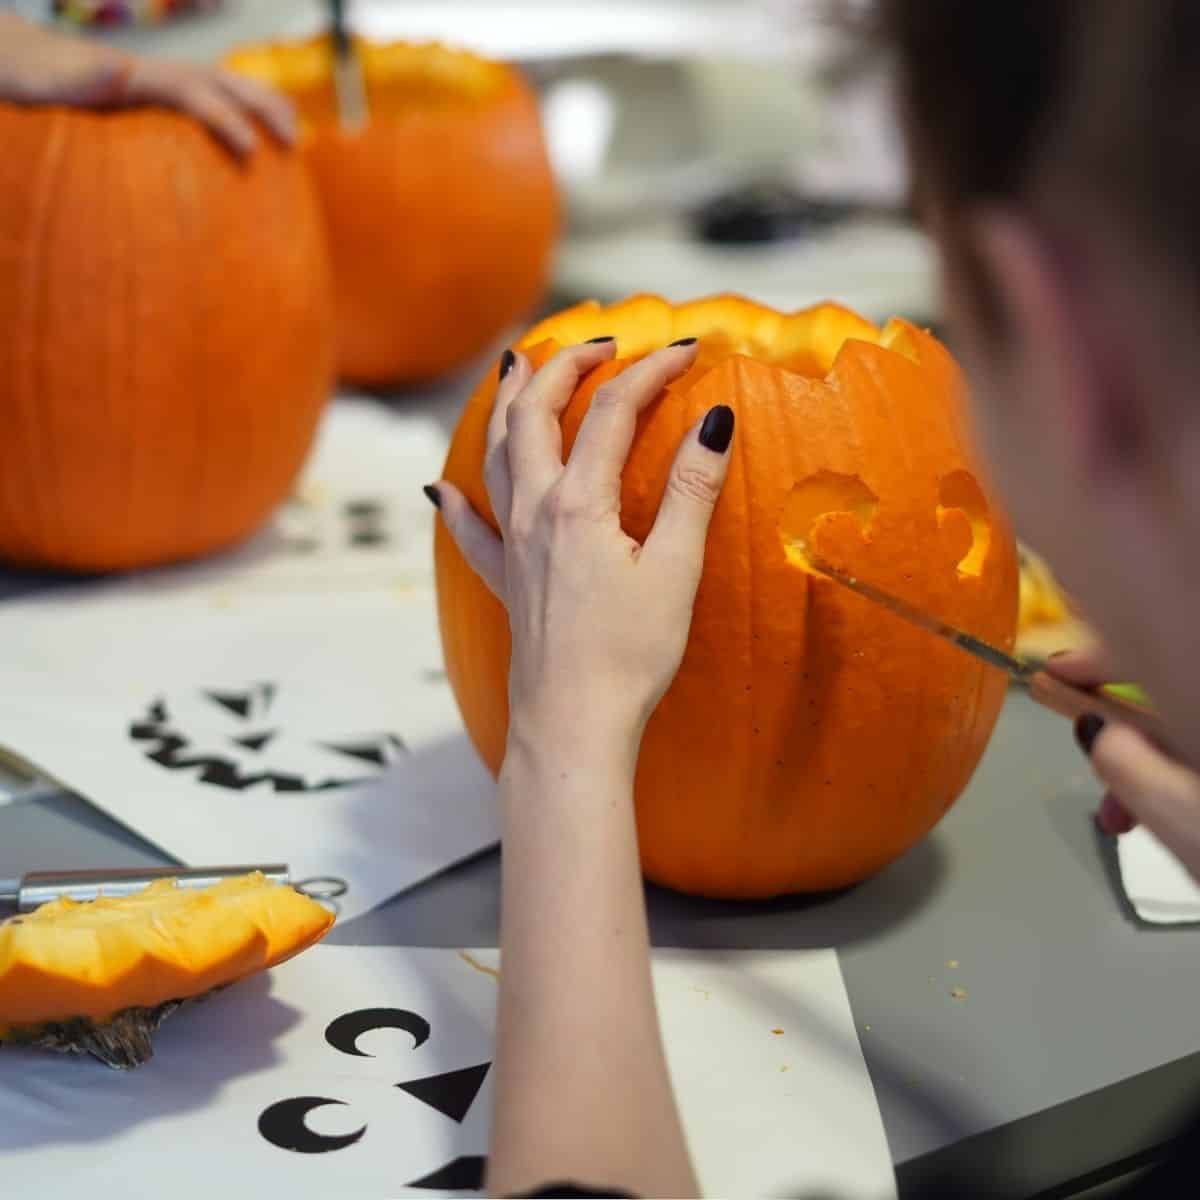
Before you embark on your pumpkin carving adventure, let’s talk tools. To craft the ultimate cat-o’-lantern, you’ll want to make sure you have the right equipment. Here’s your shopping list:
1. Pumpkin Carving Kit
This is the most important thing for any pumpkin carving project. Most kits come equipped with various knife sizes, an etching tool, a drill, and a pumpkin scooper. Some even throw in stencils for good measure.
Trust me – quality tools make the difference when creating your pumpkin cat masterpiece.
2. Carving Stencil
Not everyone is born a Michelangelo. Having a cat pumpkin carving template can be a game-changer. There’s a treasure trove of cat pumpkin designs out there, so you’re bound to find one that sparks your creativity.
3. Glue, Paper, Toothpicks
Depending on your cat pumpkin design, you might need sheets of black, white, and pink construction paper. (I know what you’re thinking, why pink, but you’ll see in a minute…)
Don’t forget to grab some scissors and craft glue or a hot glue gun. Toothpicks will come in handy for attaching those adorable cat ears and feet.
4. Ribbons
Spruce up your cat pumpkin with some festive ribbons. A few dabs of crafting glue are all you need to attach them. You can even use these ribbons to tie a stylish bow around your pumpkin’s “neck.”
5. Black Paint
For that classic black pumpkin cat, you’ll need some quick-drying black (preferably glossy) acrylic paint. Make sure it’s non-toxic and easy to clean up.
You can also experiment with other paint colors for the eyes, nose, ears, and whiskers if you’re feeling artsy.
6. Plastic Sheet
Pumpkin carving can get messy, especially when dealing with paint and glue. Cover your workspace, and if possible, take your carving adventure outdoors for an easier cleanup.
Now, let’s embrace the spooky spirit, get those creative juices flowing, and have a blast transforming your pumpkins into adorable feline masterpieces!
See also: Can Cats Eat Pumpkin? Prepare Your Kitty For Spooky Season
5 Cat Pumpkin Carving Ideas
If you’re on the hunt for fantastic feline-inspired pumpkin ideas, you’re in for a treat! There’s a whole bunch of cat pumpkin designs out there, from Cheshire cats to spooky black kitties.
Here are five awesome pumpkin cat carving ideas that will take your Halloween decor to the next level:
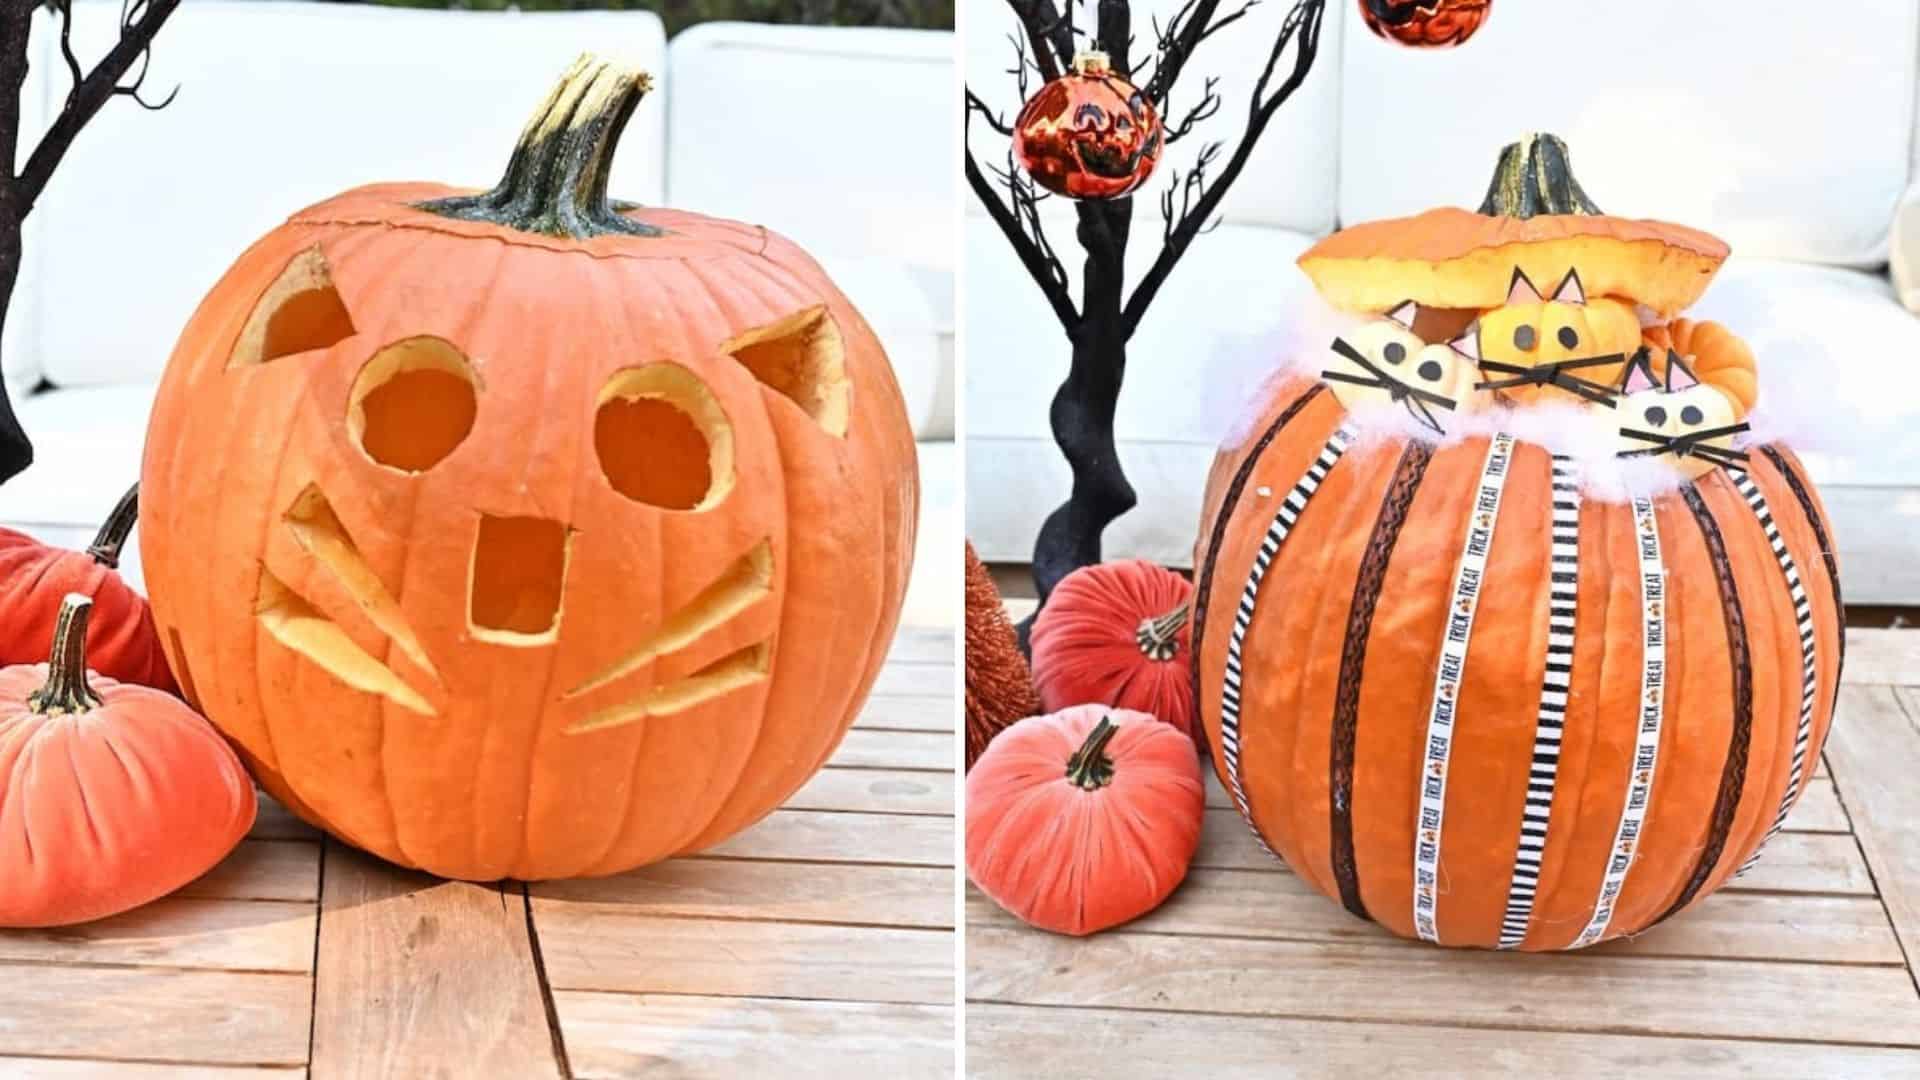
1. The Simple Kitty

This one’s a great starting point. There’s no need for a cat pumpkin stencil, and it works for pumpkins of any size.
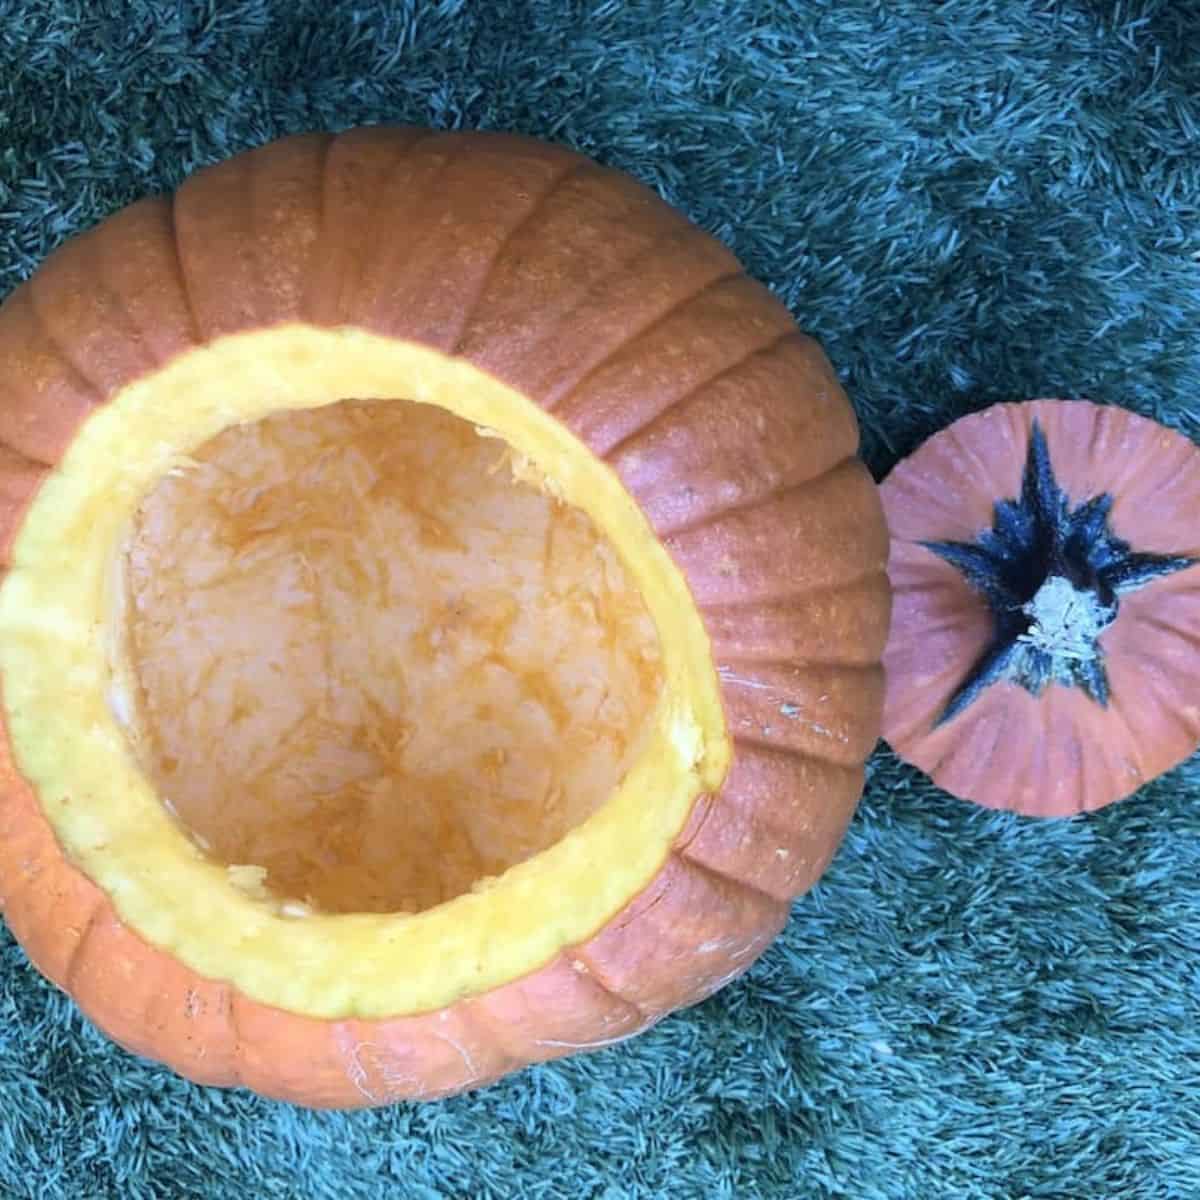
Begin by slicing off the top and cleaning out your pumpkin, just like any other carving project.
Find the pumpkin’s best side and sketch out your cat’s ears, eyes, nose, and whiskers. You can even use bottle caps to create perfect circles for the eyes.
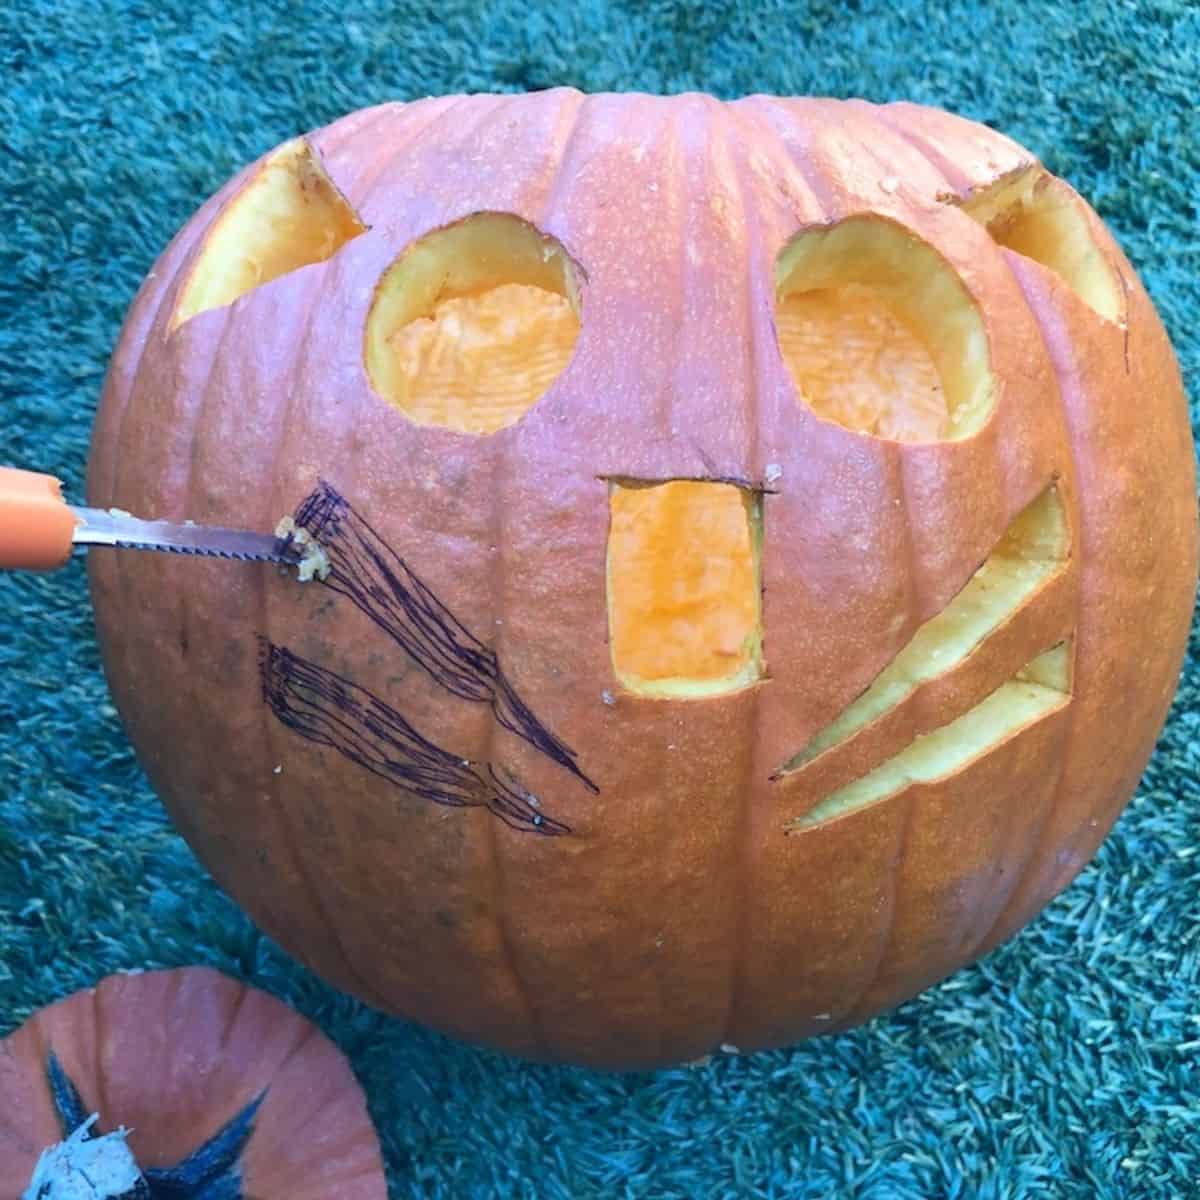
You can draw the face directly on the pumpkin or sketch it on a piece of paper, tape it to the pumpkin, and use it as your guide.
Now, carve away! Finish it up by placing a candle inside, and you’re all set for Halloween.
2. Cat With 3D Ears
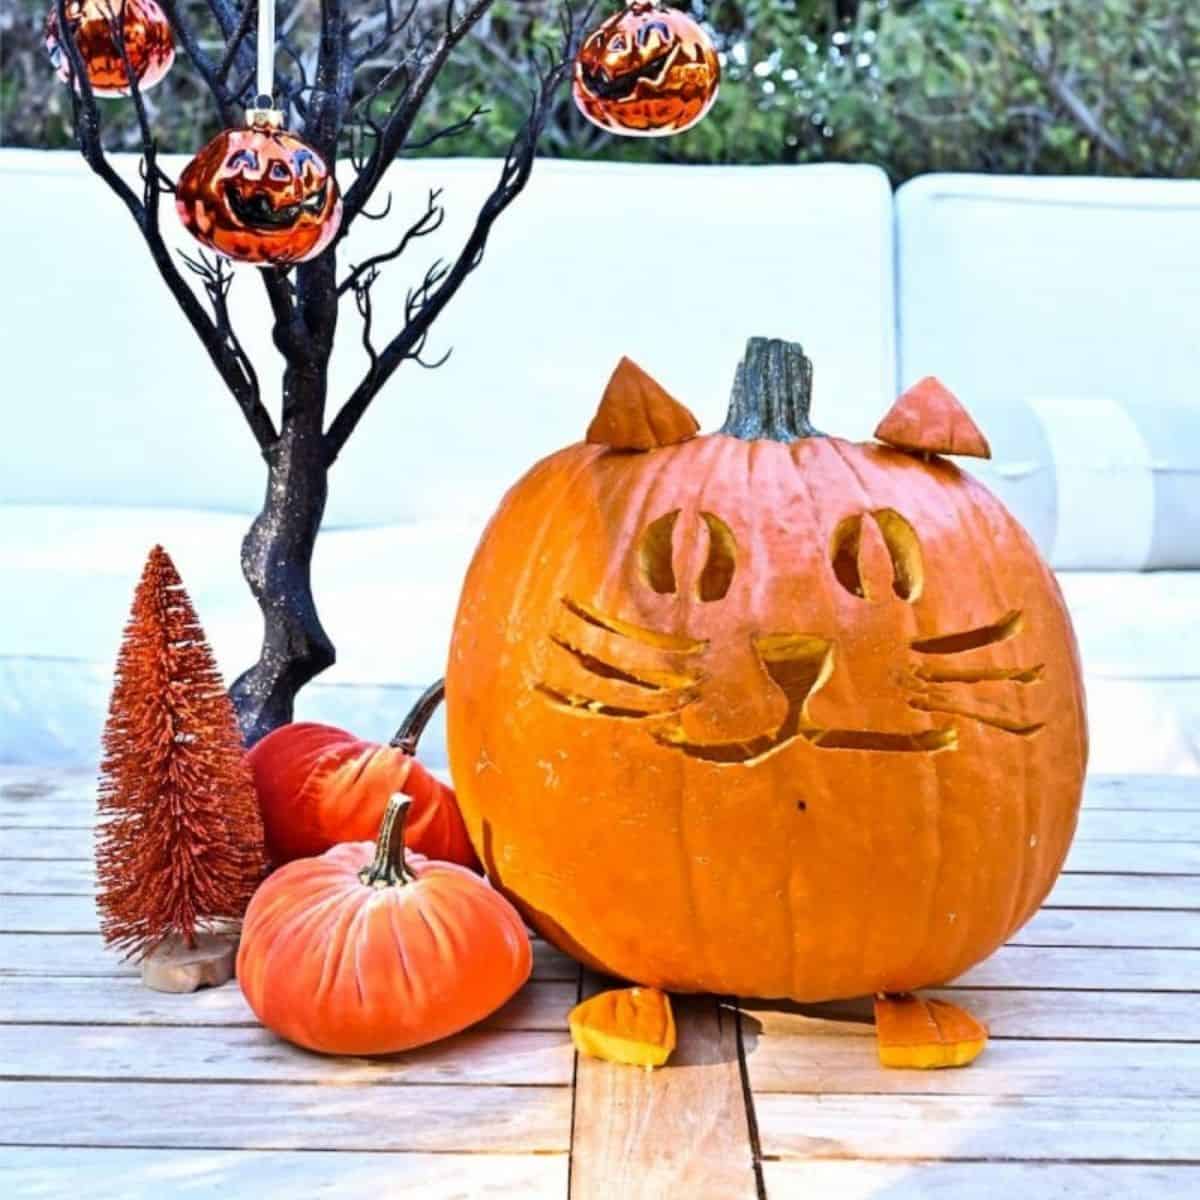
This one’s the bee’s knees! Create an adorable cat face with charming ears, and if you’re feeling fancy, throw in some tiny paws.
You’ll need a larger pumpkin for this, as there are some intricate details involved. Follow the same steps as mentioned earlier, but here, you’ll use a portion of the top to fashion those ears and feet.
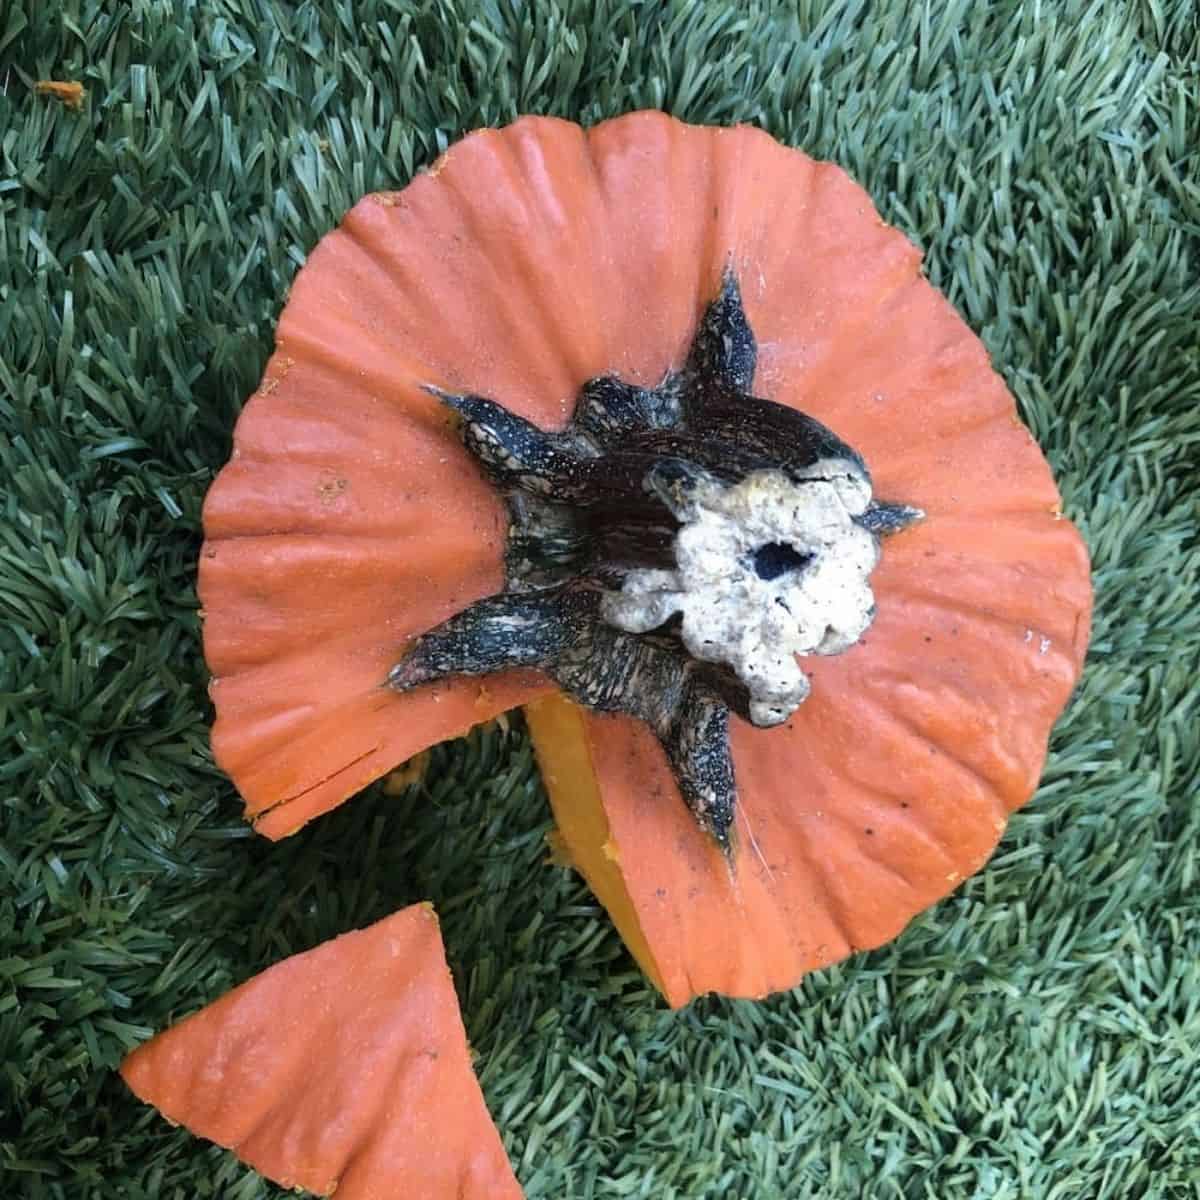
To craft the ears, sketch little triangles on the removable lid of the pumpkin and do the same for the paws. Now, carefully cut them out, and you’ll have your kitty ears and paws ready to roll.
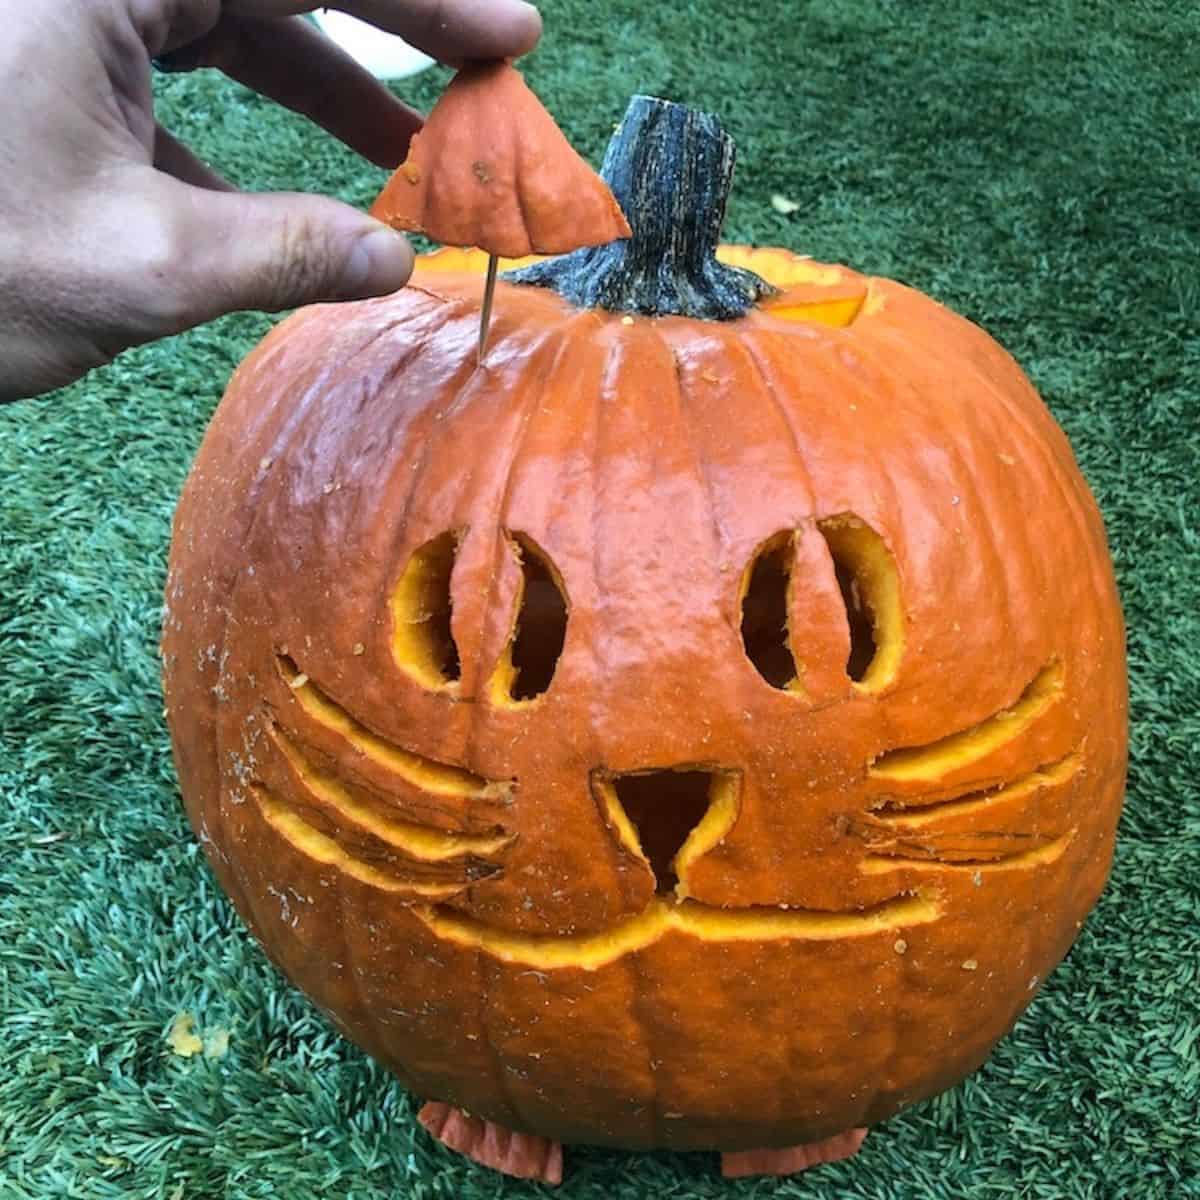
I recommend selecting these triangles from the back of the lid, so the missing sections remain hidden when the pumpkin is closed. Attach the triangles to your pumpkin using toothpicks, and voilà – you’re good to go!
3. Black Painted Paper Ears Cat
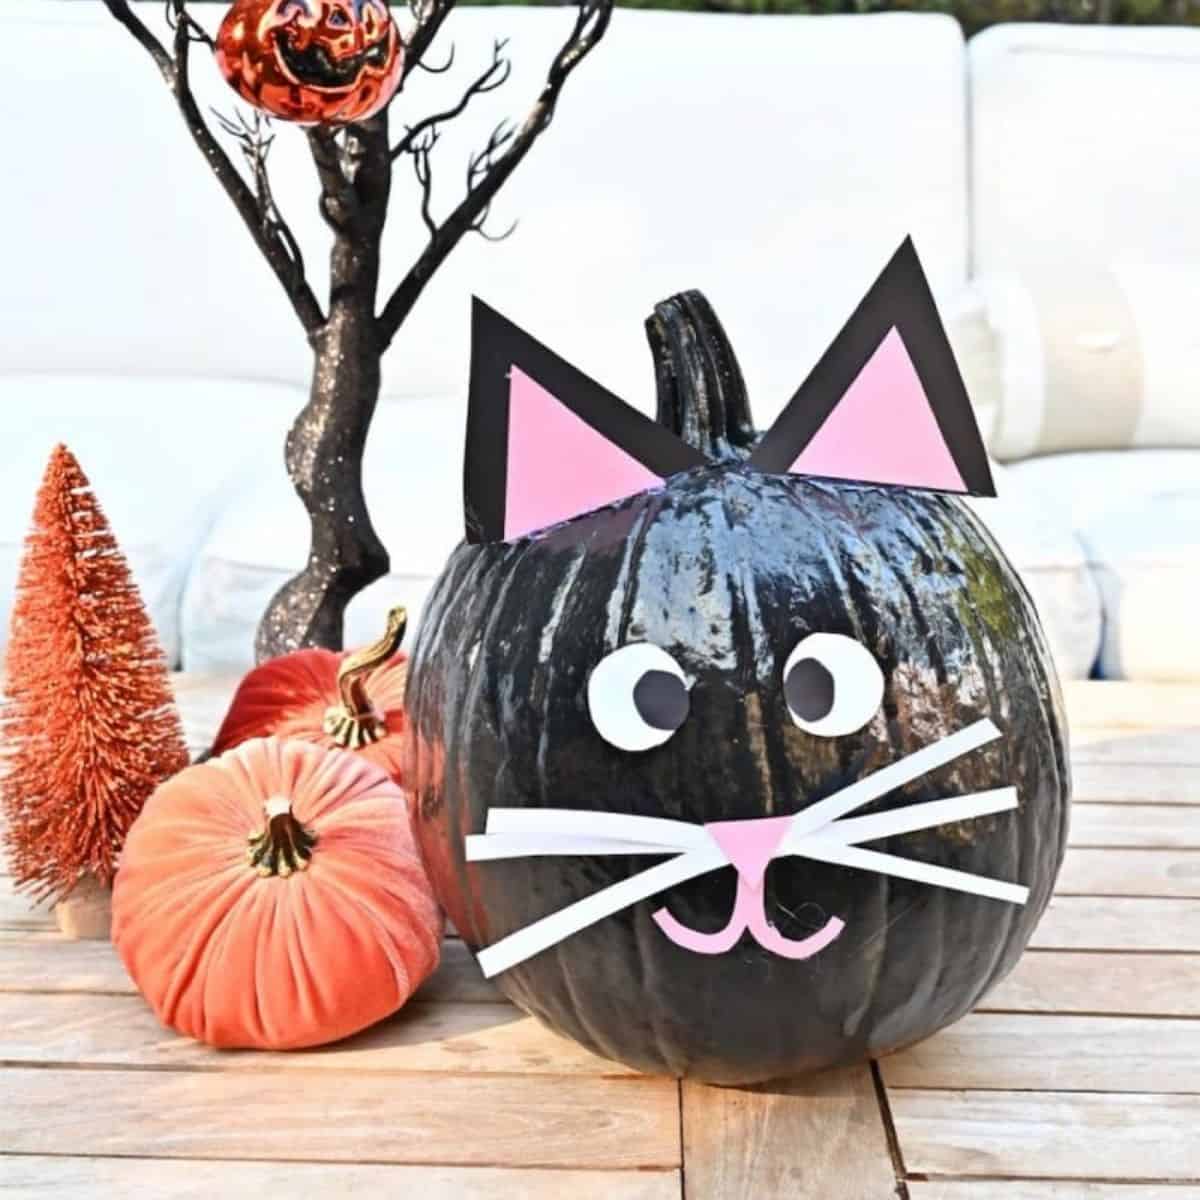
If traditional carving isn’t your thing or you’re up for trying something new, give this crafty cat face pumpkin a whirl. This method works with pumpkins of any size.
Start by painting the entire pumpkin black, stem and all.
Use construction paper to craft the ears, nose, whiskers, eyes, and mouth. Once the paint has dried, employ crafting glue or a hot glue gun to affix your paper cutouts.
To make the ears stand upright, you can tape toothpicks to the back and insert them into the pumpkin.
The best part? No carving is necessary, so you can let your creativity run wild and experiment until it’s absolutely purr-fect!
4. A Kindle Of Kitten… Pumpkins
What’s cuter than kittens? Pumpkin kittens, of course!
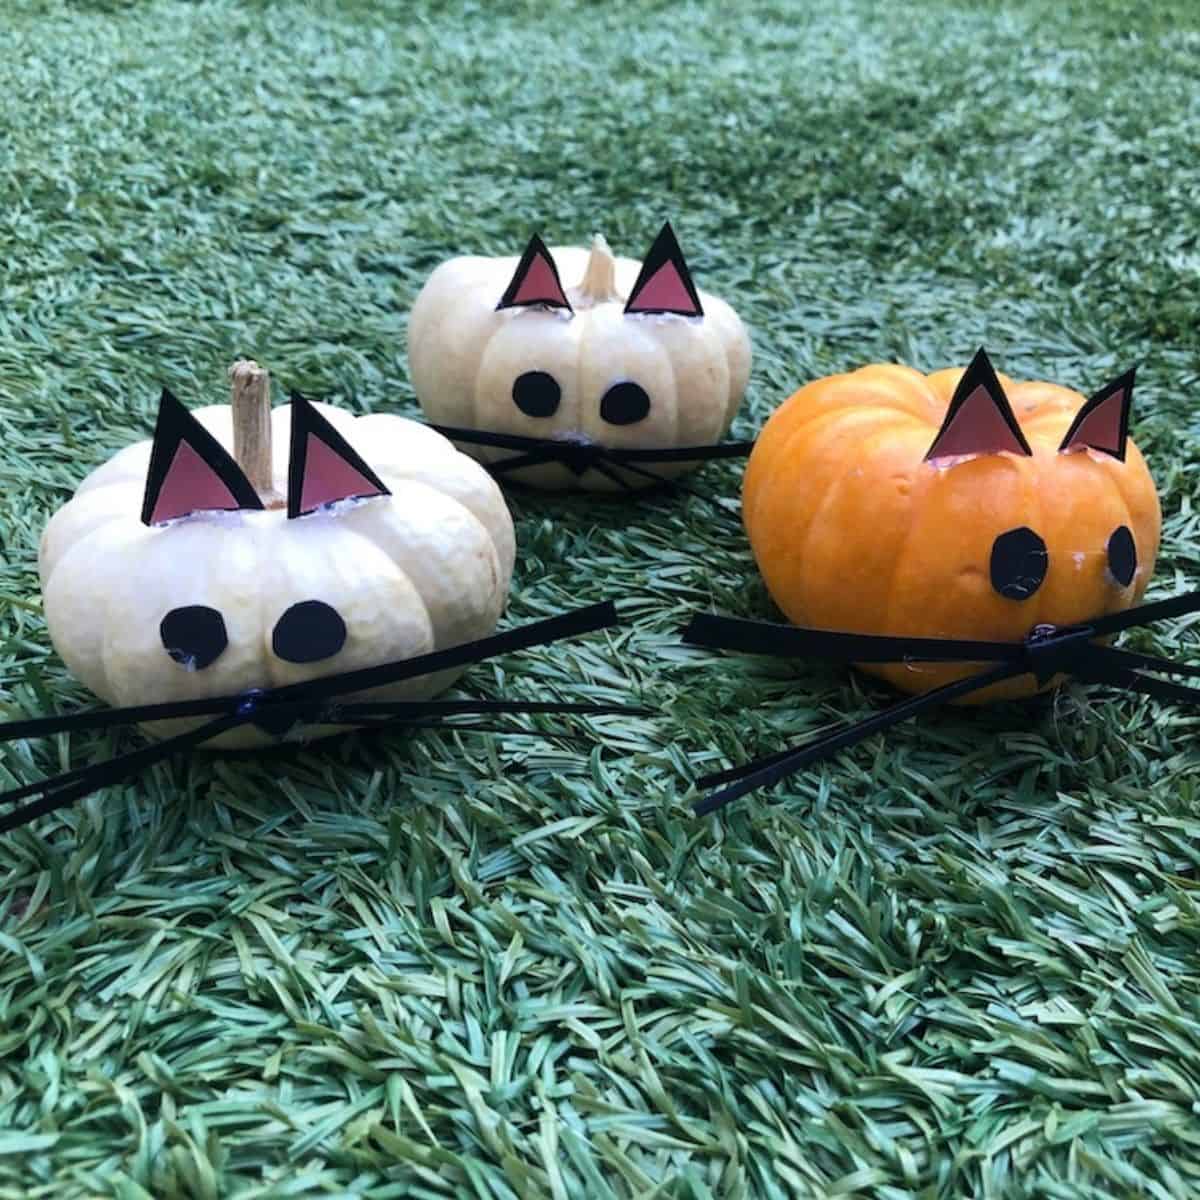
This delightful kitty collection is sure to turn heads. You’ll require a large pumpkin and a few smaller ones for the kittens.
Begin by hollowing out the large pumpkin and adding some pizzazz with festive Halloween ribbons.
For the tiny pumpkins, use construction paper to create eyes, noses, and whiskers (similar to pumpkin no. 3).
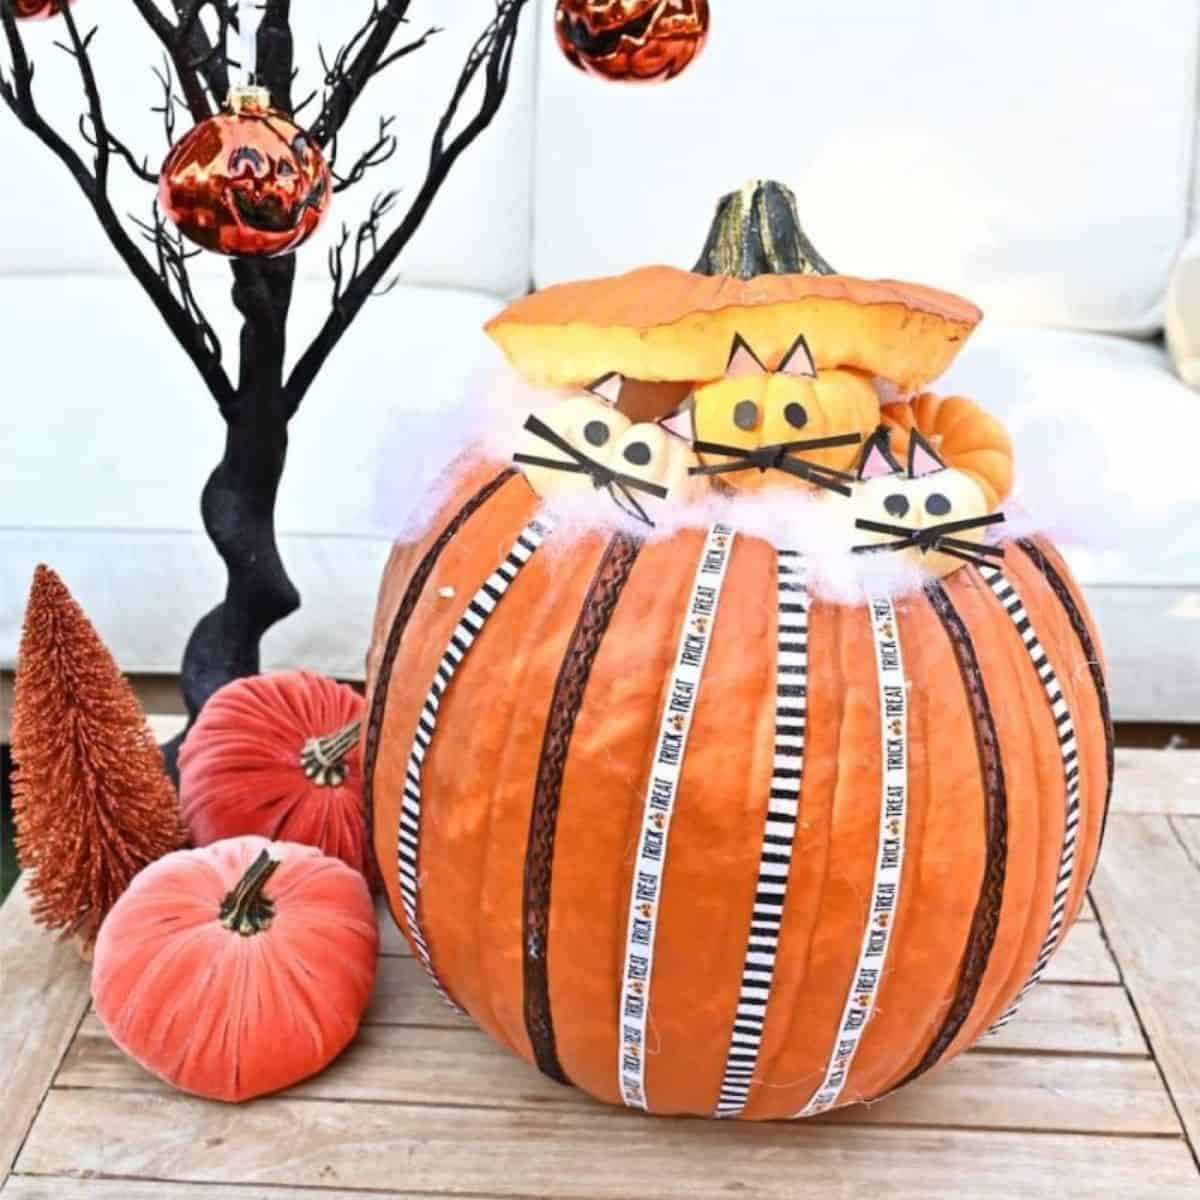
Once again, attach the cutouts with crafting glue or hot glue. Fill the large pumpkin with cotton or plastic bags, nestle the tiny kittens inside, and seal the deal. Isn’t it just adorable?
See also: Most Amazing Facts About Cats
5. Spooky Cat Pumpkin

If you’re looking for the ultimate black cat Halloween pumpkin, this one’s a winner. You’ll need a gourd with a long “tail” and a smaller pumpkin for the “cat’s head.”
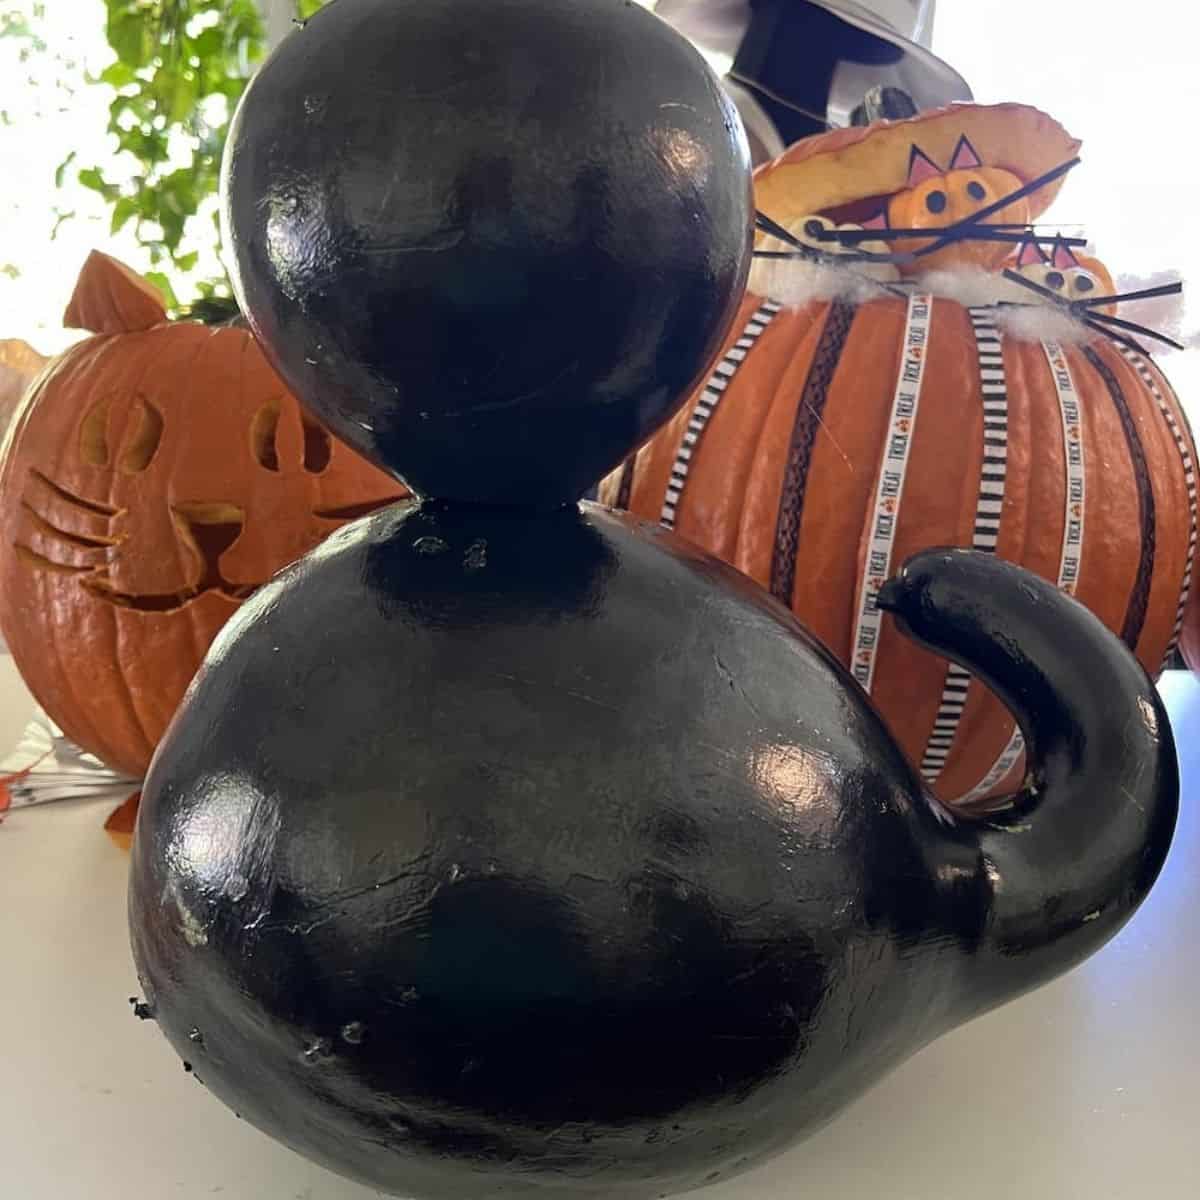
Once your gourd and pumpkin are thoroughly dry, give them an alluring black coat of paint. Attach the head to the body using toothpicks, and if you want extra security, a dab of glue will do the trick.
For an eye-catching twist, paint the eyes a different color – orange, green, or yellow work splendidly.
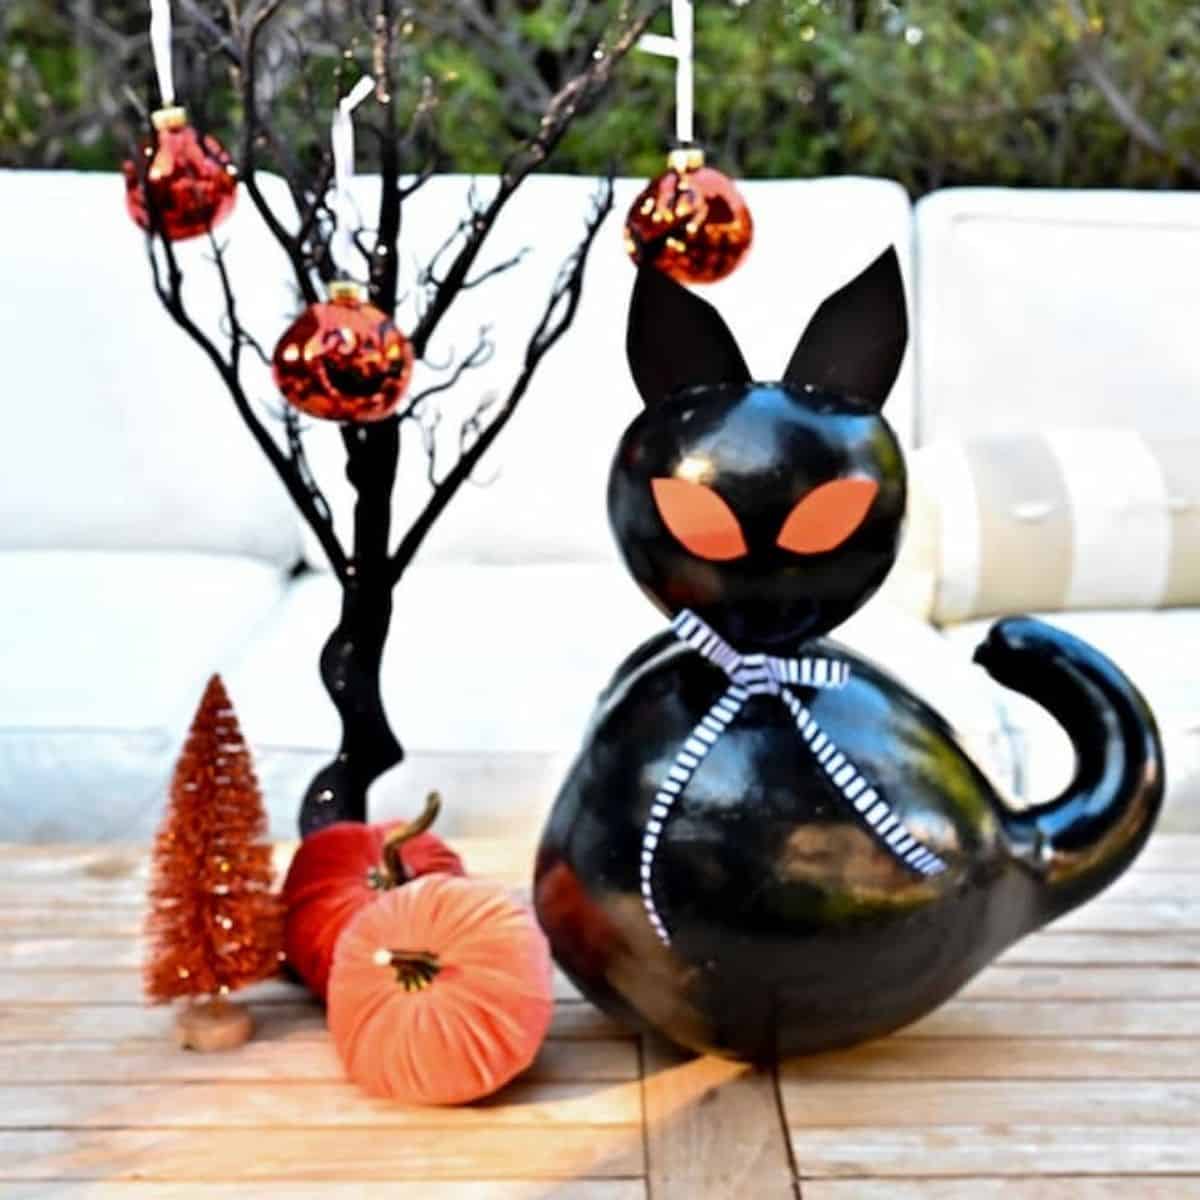
You can employ construction paper for this, just like before. To complete the look, use black paper for the ears and wrap it all up with a Halloween ribbon around the cat’s neck.
There you have it! These pumpkin cats are bound to make your Halloween festivities extra meow-tastic!
Tips For A Purr-Fect Cat-O’Lantern:
• Choose a well-shaped, firm pumpkin with minimal ridges, making it easier to carve.
• Ensure you have the right carving tools, including various blade sizes, and consider sharpening them for intricate designs.
• Thoroughly remove all seeds with a sturdy pumpkin scraper. If your pumpkin has a thick shell, scrape some of it from the inside for smoother carving.
• If you’re going freehand, sketch your cat’s face on tracing paper or a paper towel, then transfer it to the pumpkin and follow the pinprick outline for confident carving.
Oh, and if you find yourself wondering what to do with the leftover pumpkin bits, check out our recipes for the tastiest pumpkin cat treats!

