Vet-Approved Steps To Take When You Find A Dead Tick On Your Cat
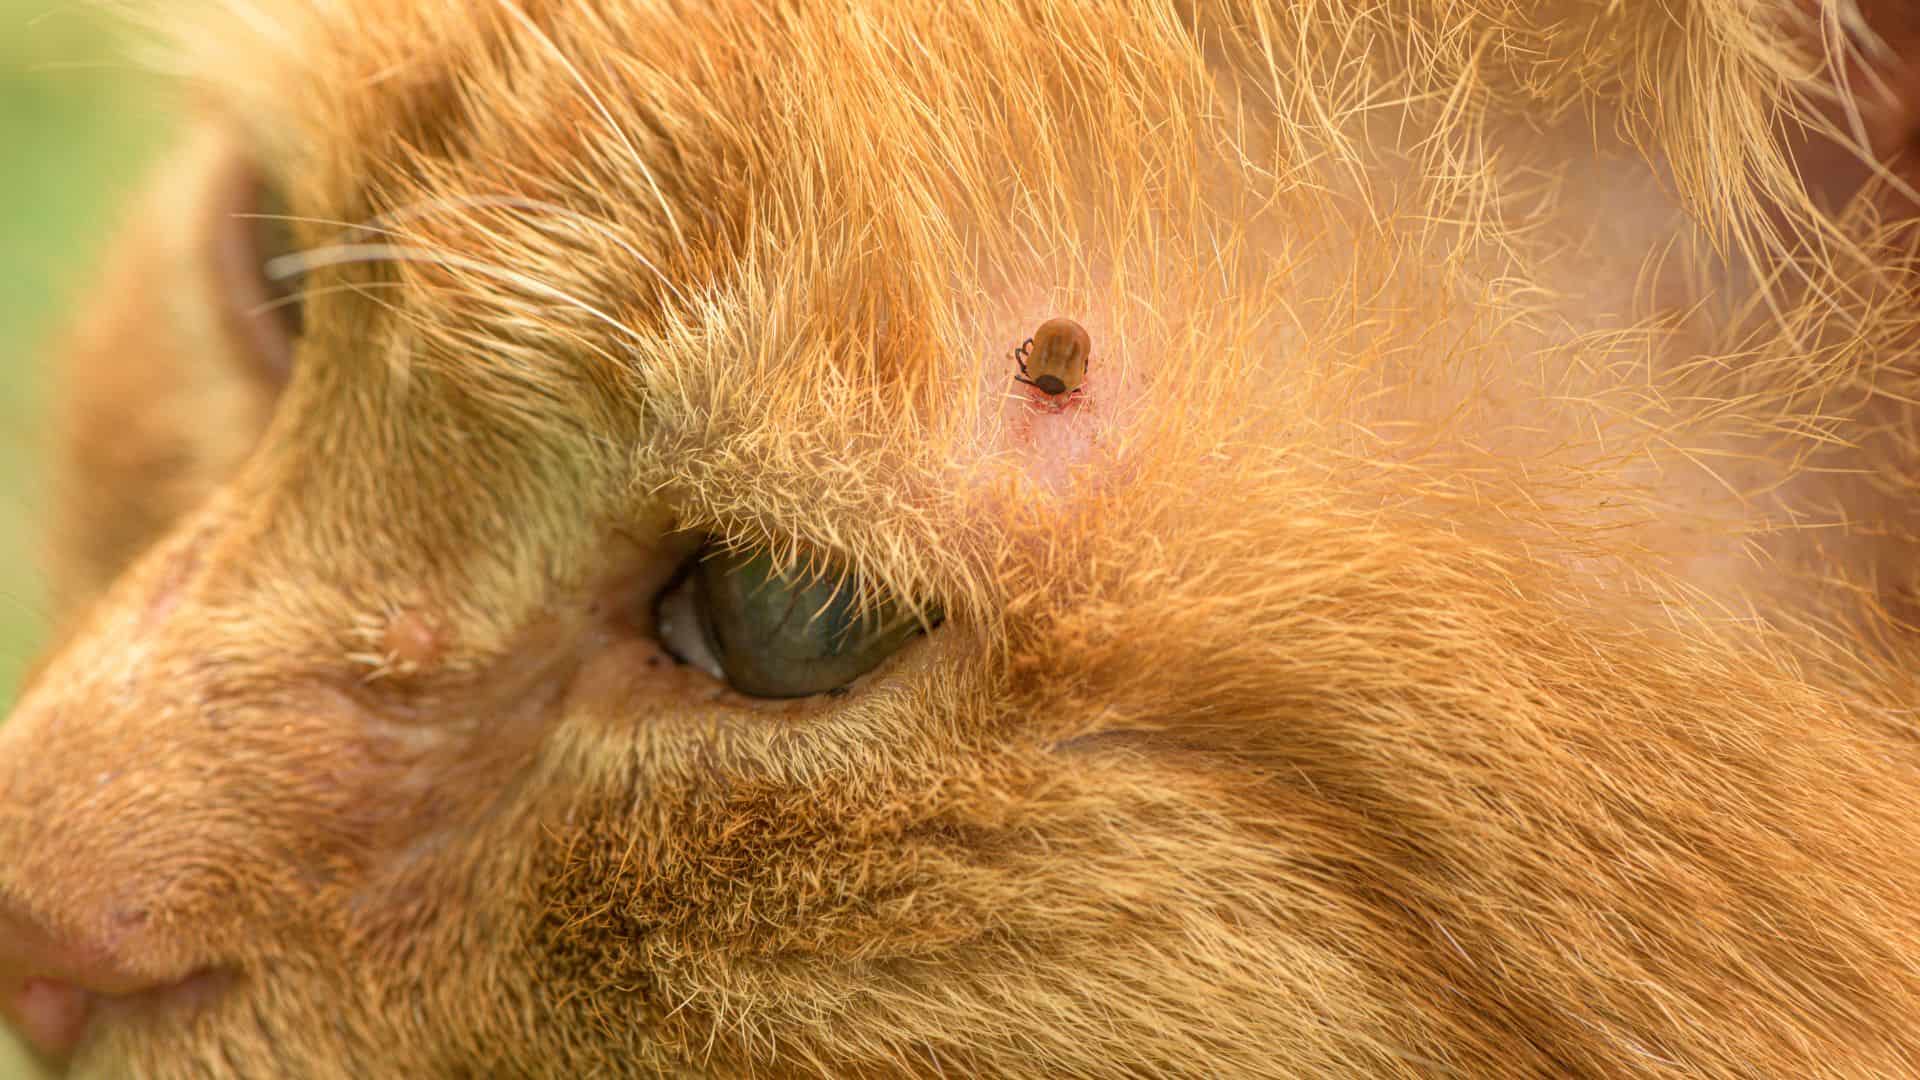
When warmer days arrive, instead of relaxing, cat parents have to worry about unwelcome visitors that cats can bring into our homes – ticks.
Ticks are small insects that feed themselves on the blood of mammals. Cats and other pets can easily get them if they spend too much time outside, especially in grassy areas.
The main reason why ticks are dangerous is that they can transmit numerous diseases and health issues, to both pets and humans, such as Lyme disease, Rocky Mountain spotted fever, ehrlichiosis, etc.
So, if you want to keep your feline friend healthy and safe, and keep these unwelcome guests out of your home, here are 5 vet-approved steps you should take if you find a tick on your cat!
Step 1 – Identify The Tick
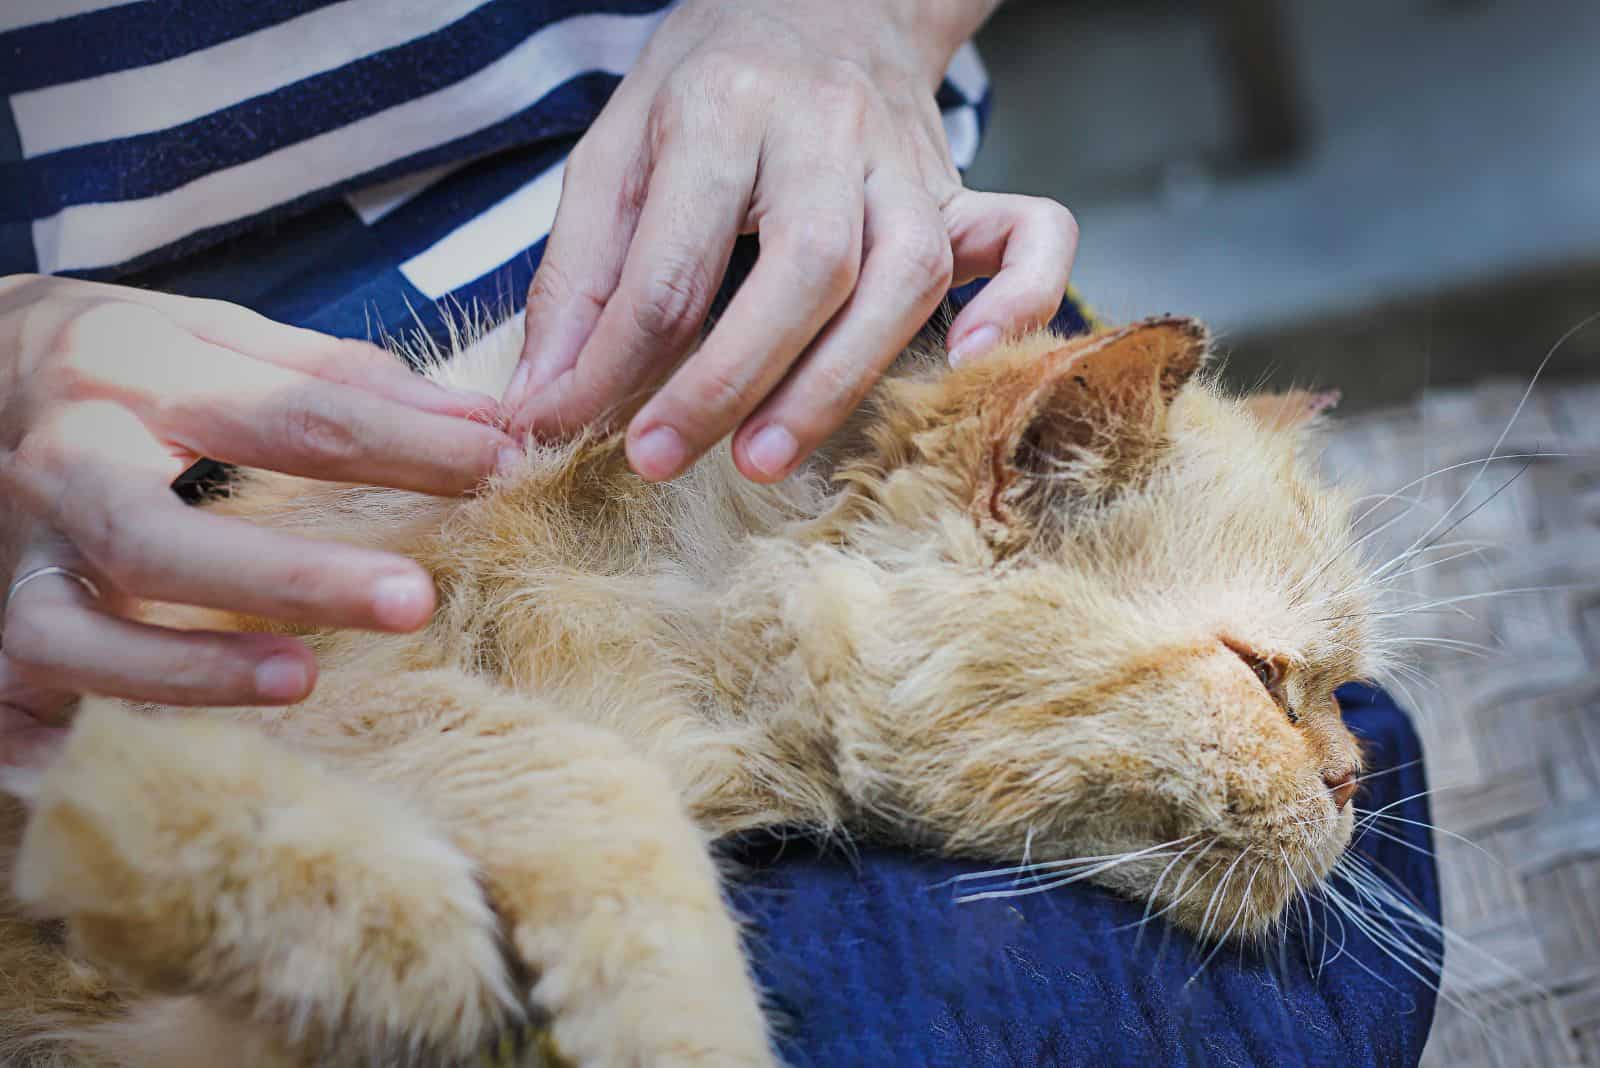
The first and most important thing to do is to properly identify the dead tick on your cat. This step is crucial because your cat may have other cat pests that can have different life cycles, hosts, and symptoms.
The best thing to do is to identify the bug based on its color, size, location, and other physical characteristics.
In that case, the most common types of ticks that are common for cats are the American dog tick, the Lone Star tick, the Deer tick, and the brown dog tick.
Step 2 – Prepare The Equipment For Removing The Tick
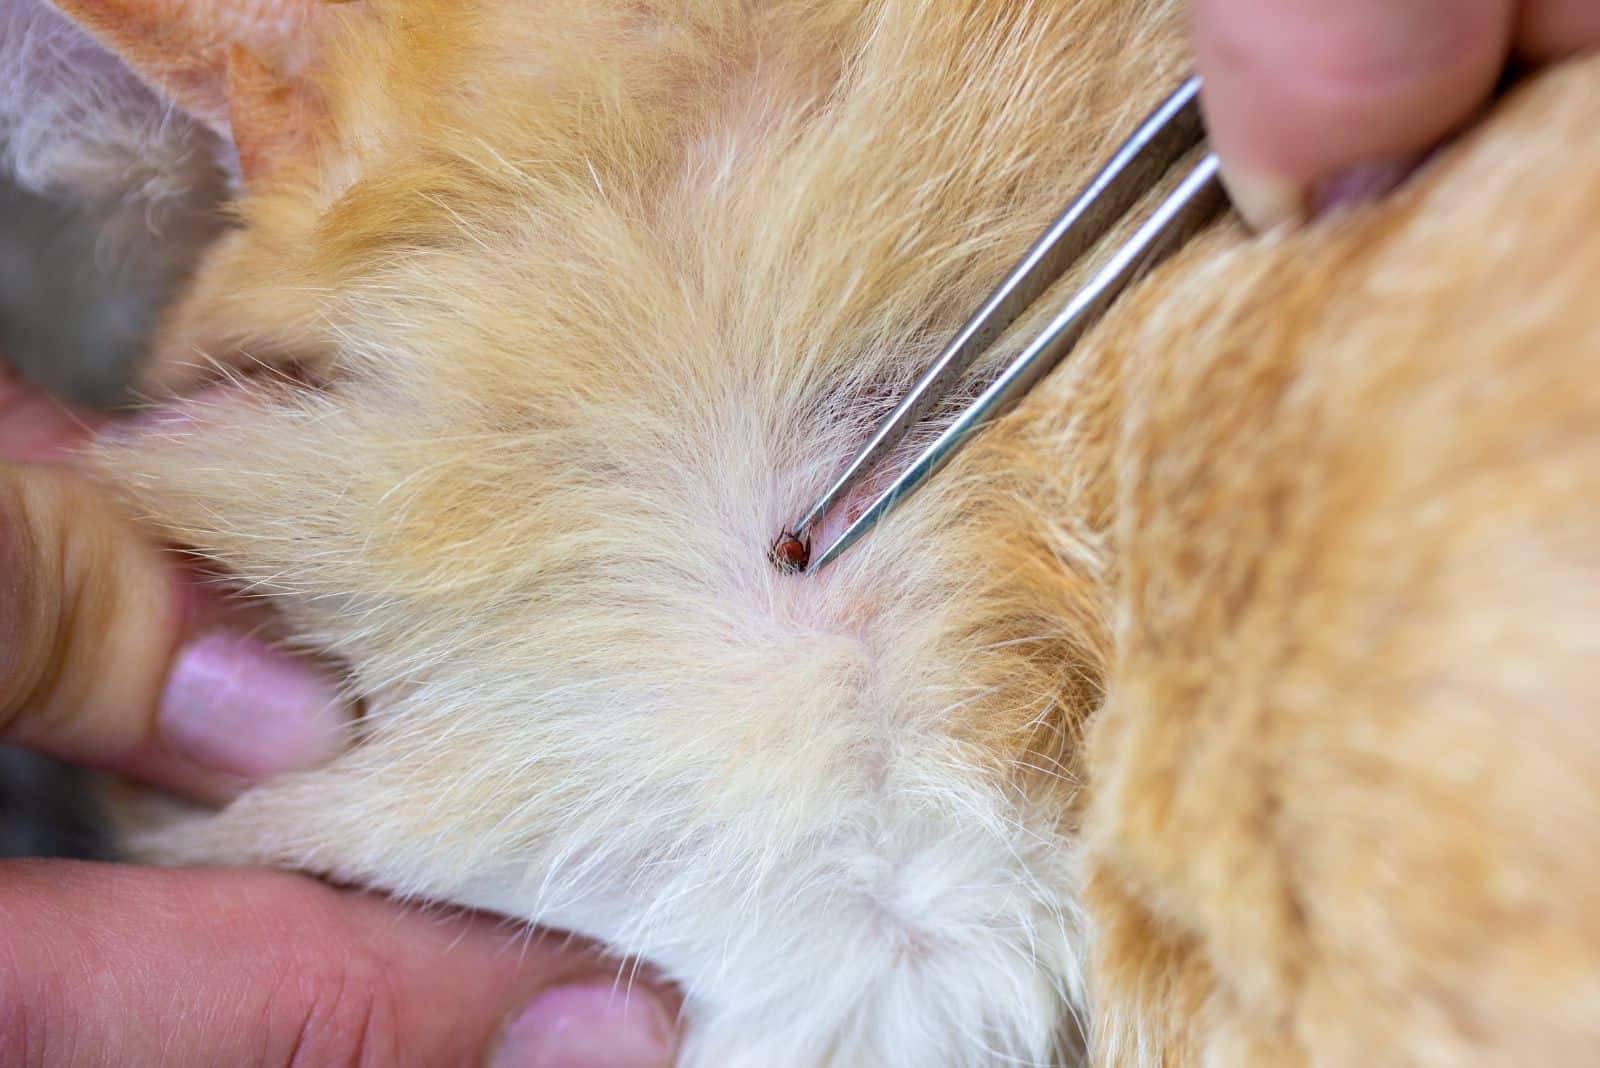
When removing a tick from your pet’s body, you need to be extra careful in order to remove the whole tick. For that step, you’ll need the following items:
• Tweezers to pull the tick out.
• Disinfectant to clean the skin area after removing the tick.
• Gauze to stop any bleeding if it happens.
• Small bowl filled with isopropyl alcohol to place the tick after the removal.
Step 3 – Remove The Tick
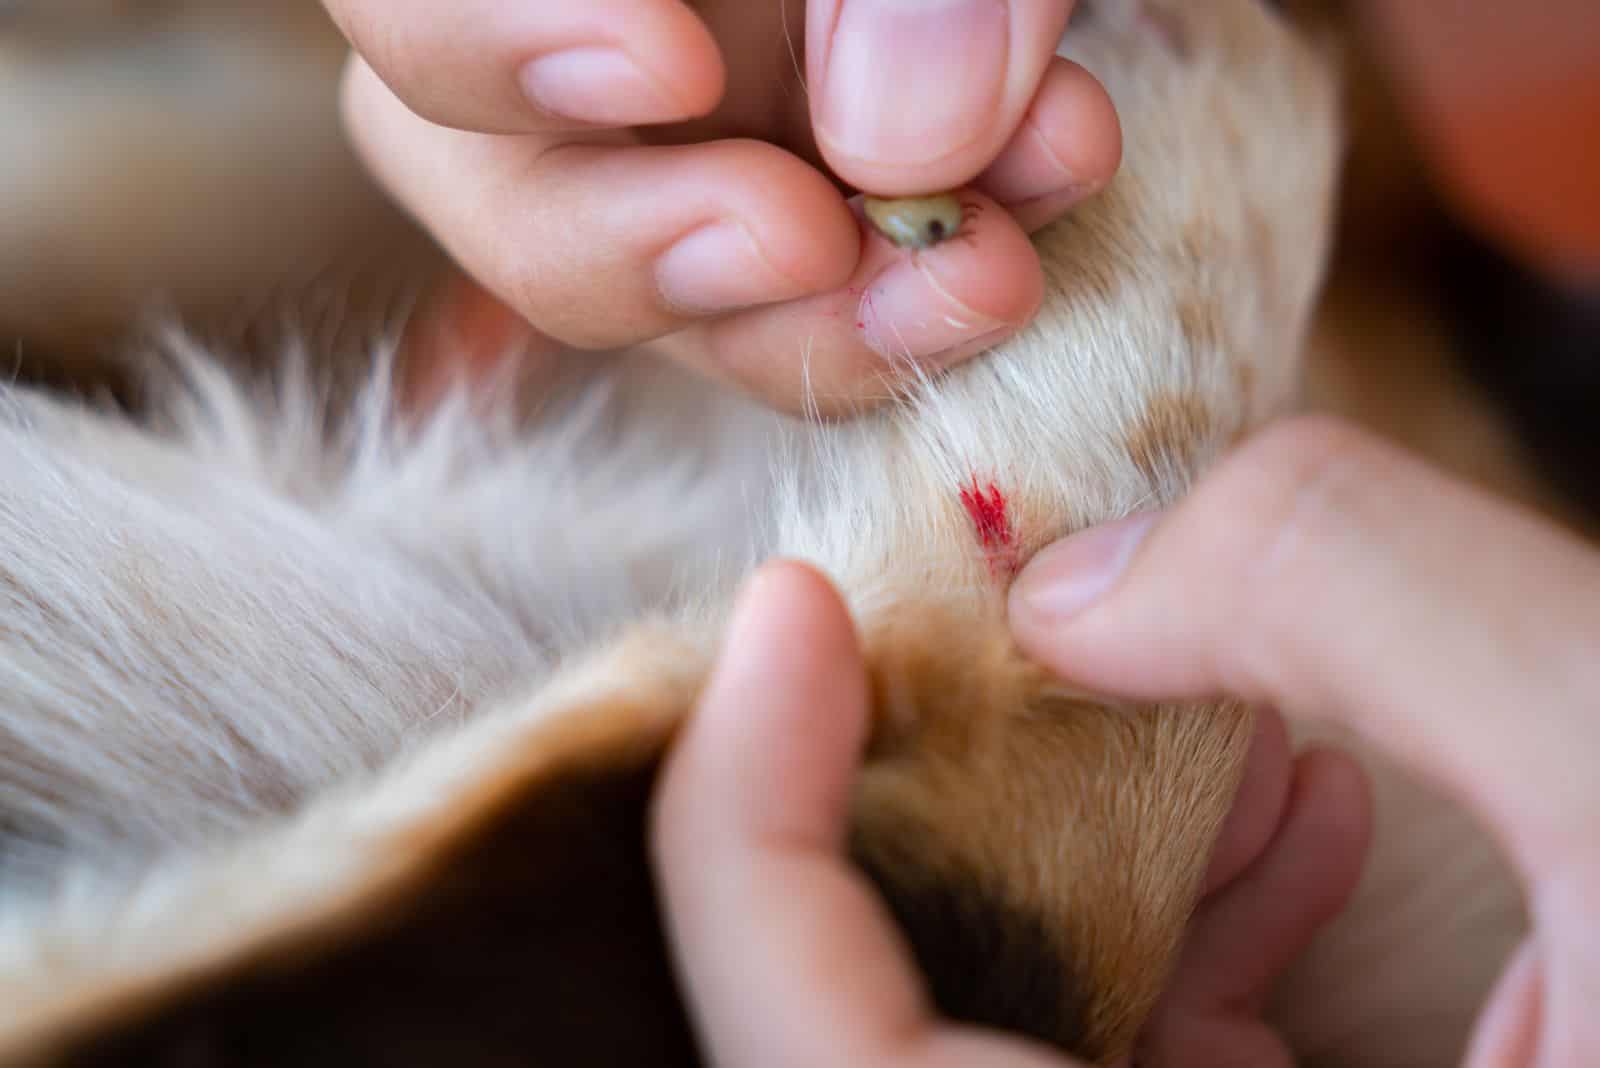
After preparing the equipment that is necessary for the tick removal, first, you should separate the cat’s fur and carefully locate the tick. Make sure that it’s a tick and not a skin tag.
Once you find a tick, use tweezers and grab the tick as close to the cat’s skin as possible. However, don’t squeeze too hard, as you can push parts of the tick’s body into the cat’s skin.
Just pull it out gently, put the tick in the isopropyl alcohol, or you can flush it down the toilet.
Step 4 – Treat The Skin Area After The Tick Removal
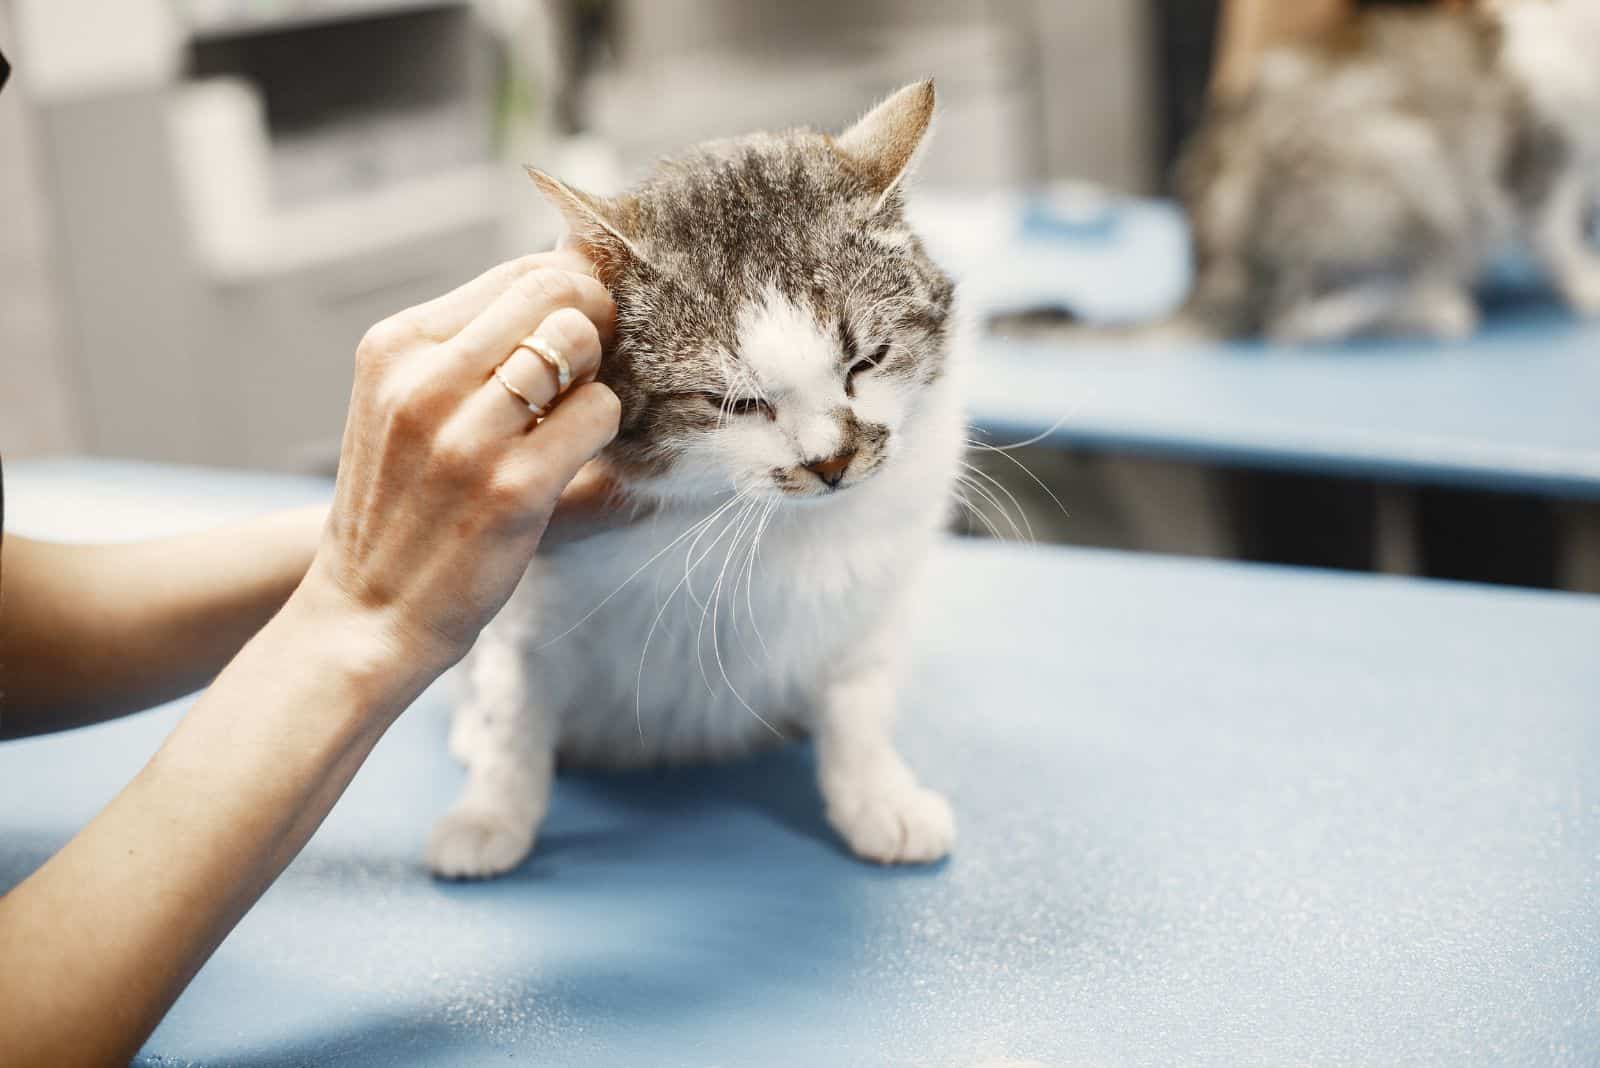
After removing the tick, clean the skin area with an ointment or other disinfectant to reduce the chances of your cat contracting an infection.
After cleaning, monitor that skin area for a week to ensure that it heals without any issues.
However, if you notice symptoms such as swelling, warmth, redness, and similar, ensure you contact your vet right away.
Step 5 – Let The Vet Remove The Tick

If you still don’t know how to remove the tick from your cat, or you’re too scared of hurting the cat, the easiest thing you can do is take your cat to the vet for tick removal.
A veterinarian is trained to remove ticks, so there’s no doubt he’ll do it safely. Besides that, a vet will be able to identify the type of tick and properly treat the cat in case of infection or some kind of disease.
How To Keep Your Cat Tick-Free?

Tick season is the worst nightmare for every cat parent. However, it doesn’t have to be like that as long as you follow these tips for keeping your cat tick-free!
• Check your cat for ticks regularly and remove them on time (if any).
• You can use some type of protection such as tick collar, sprays, shampoos, spot-on (topical) treatments, oral medicine, powders, etc.
• Keep your cat indoors as much as you can.
• Vaccinate your cat against tick-borne diseases.
Final Thoughts
I hope that these tips will help you and keep you out of your worries. Remember that only with the right preventatives and precautions, you can be sure that your feline friend is healthy and safe!


